How to Convert RV Water Heater to Tankless?
If you love RVing, you must invest on a tankless water heater for convenience and comfort. It heats the water fast using a heat exchanger but without a storage tank. Using it, you can get hot water on demand without having to wait long. This device can supply between two and five gallons of hot water in minutes. You just need to wait seconds before it could heat the water to a shower temperature.
May you like: Heated RV water hose
How to Convert RV Water Heater to Tankless?
But before you could experience the benefits of an RV tankless water heater, let’s discuss a guide on how to convert the RV water heater to tankless.
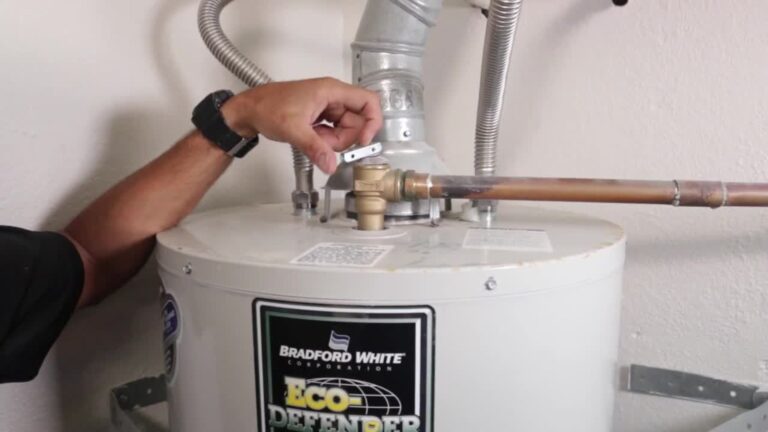
1. Turn off your propane tank, electricity supply and water supply. Do it before proceeding with the next steps to avoid any trouble.
2. Go ahead and disconnect the supply of electrical, gas and water before installing the tankless water heater. Proceed to where the heater will be installed. If you have an existing old tankless heater, you should find it outside on one side of your RV. [If you are installing a tankless heater to a new RV, make sure that the area you have chosen allows you to connect it easily, such as on the outside of your RV.]

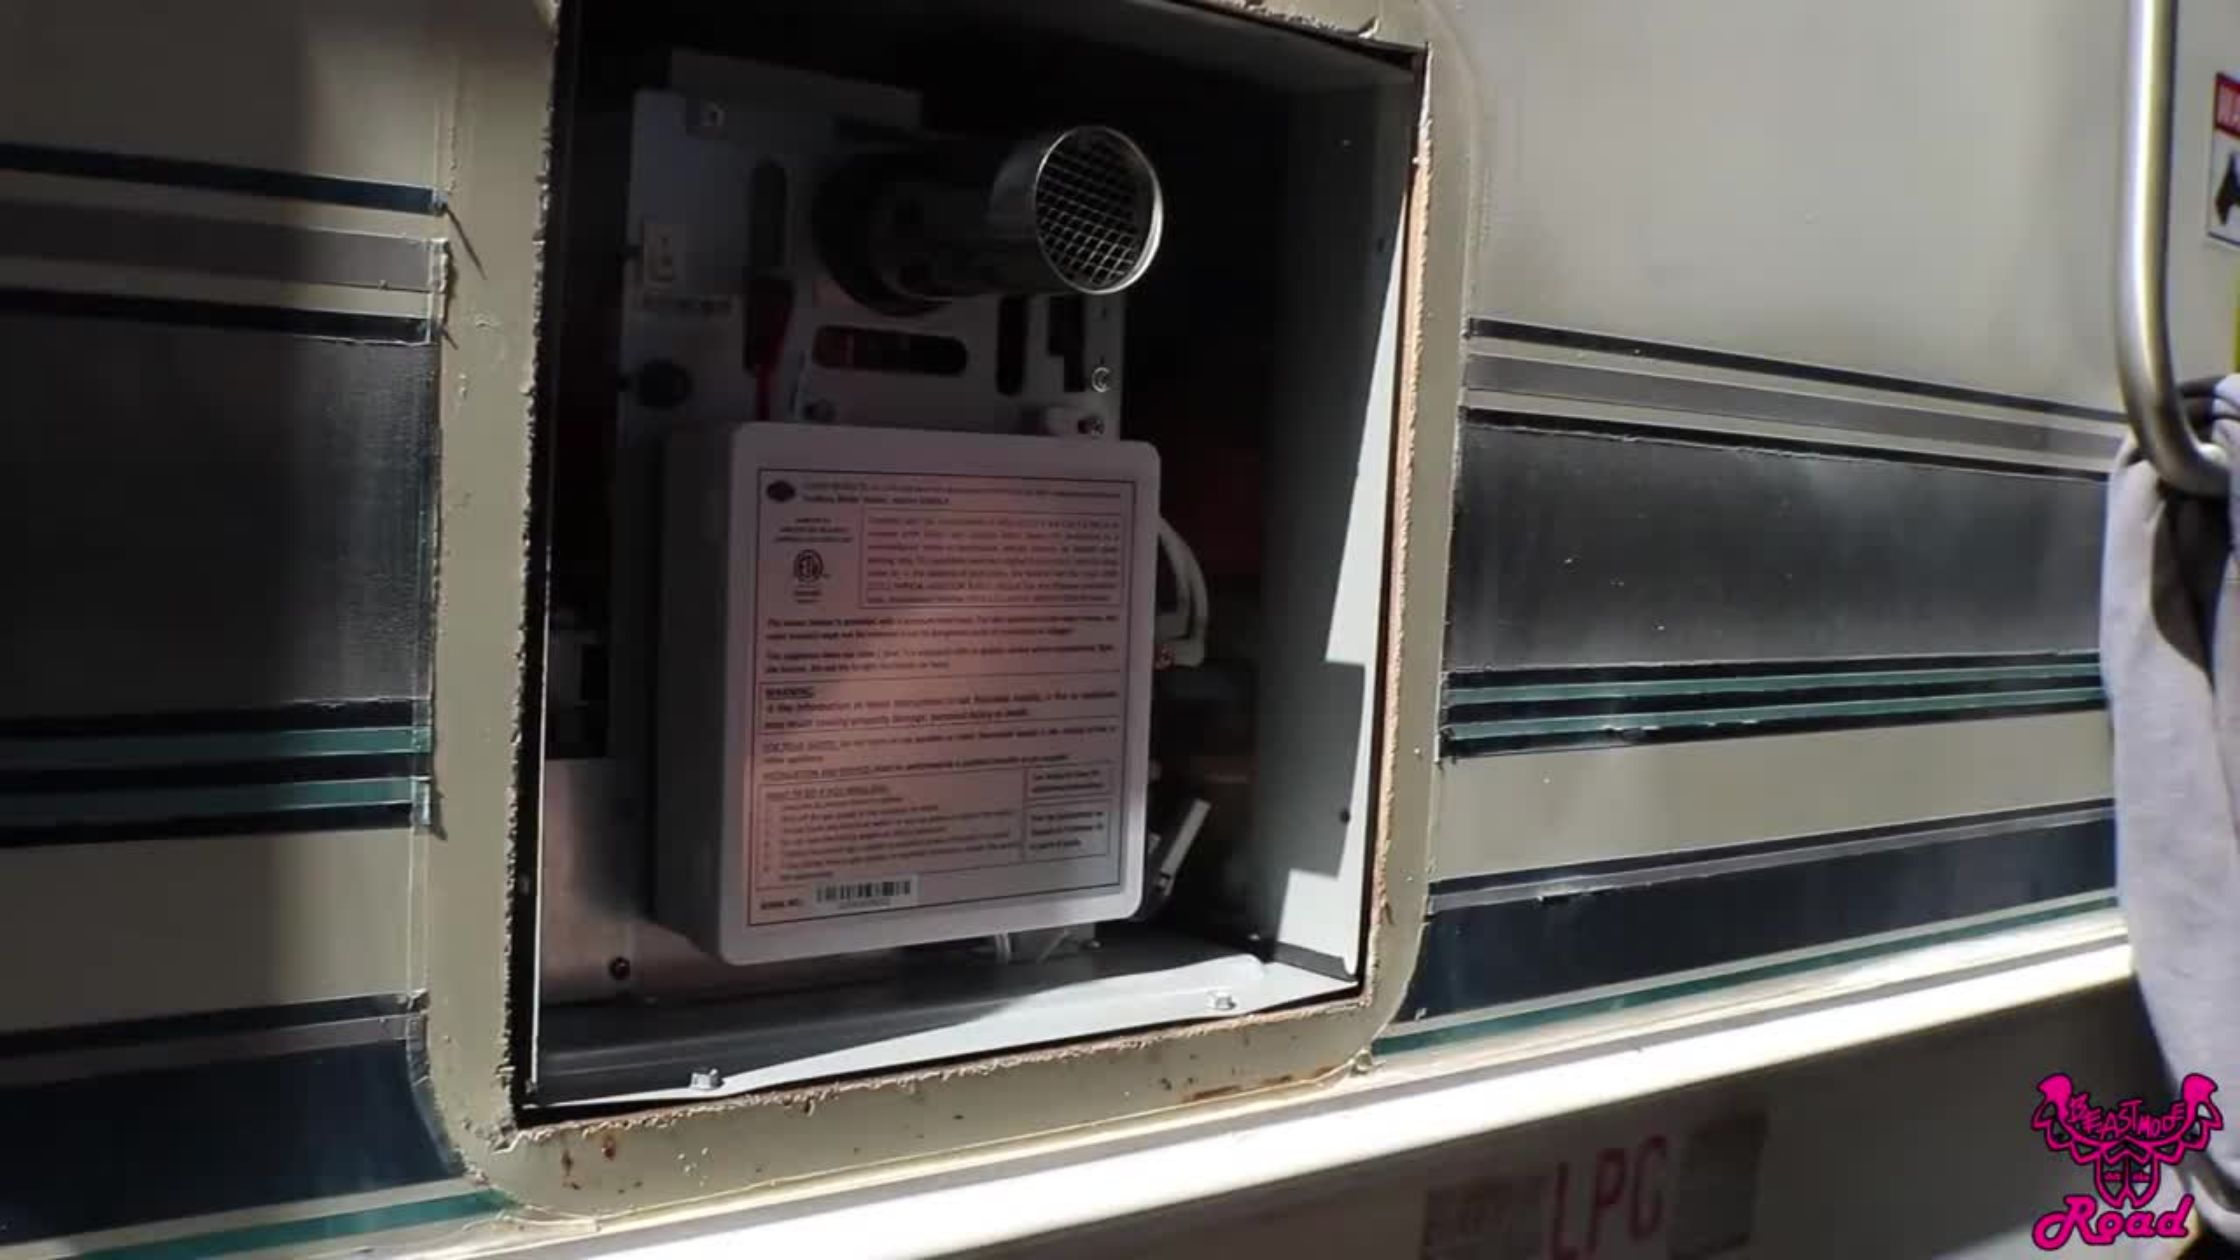
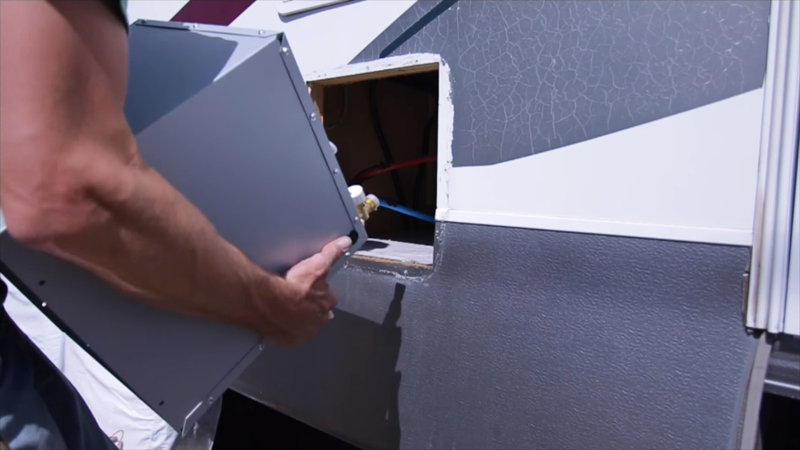
3. Unscrew the old water heater using a drill with an attachment fitting the screws of the device.
4. Cut around the seal of the heater carefully and then take it out gently using a caulking scraper. Scrape off the sealing around the heater, on the sides and on the corners. This process will not take long, though. You just need to do it systematically to ensure that you can take out the heater from where it is installed. Be sure not to scrape the paint of your RV with the tool that you’re using.
You may also like: Electric Tankless Water Heater for RV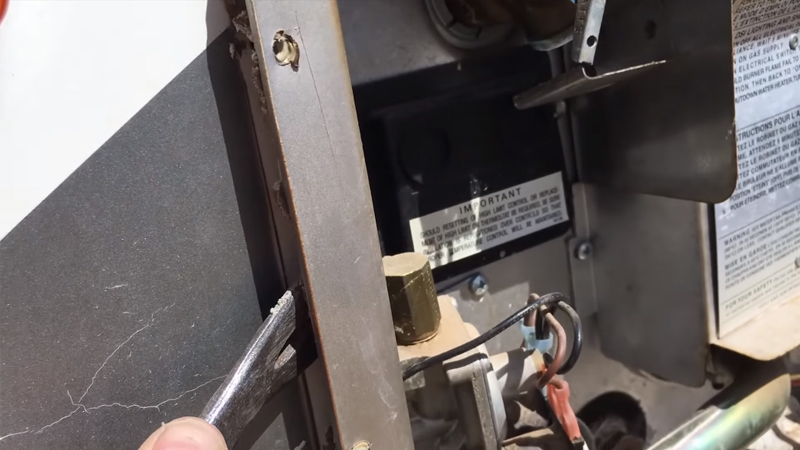
5. Take the old unit out carefully.
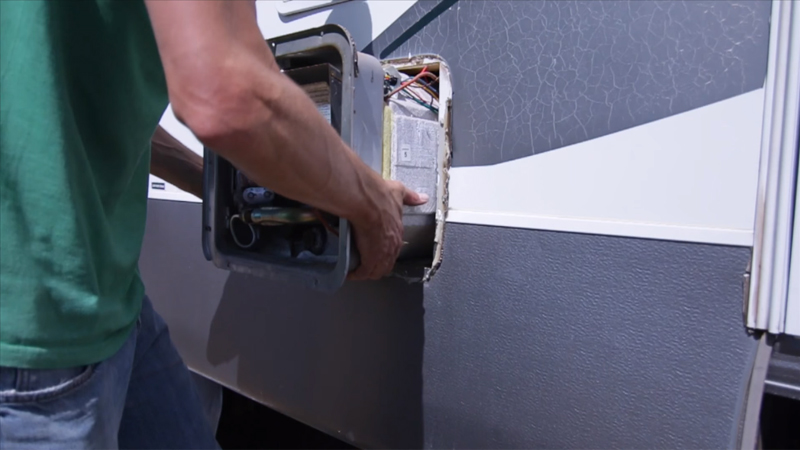
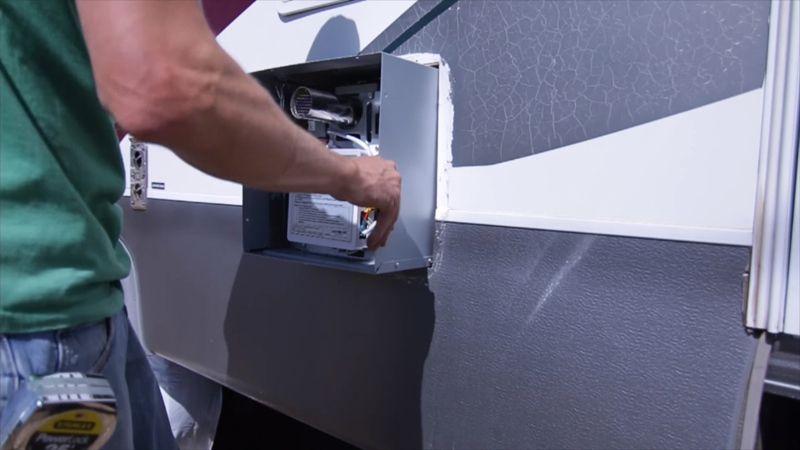
6. Clean around the location where the new tankless heater will be installed. Scrape off any debris, including the old caulk or sealer.
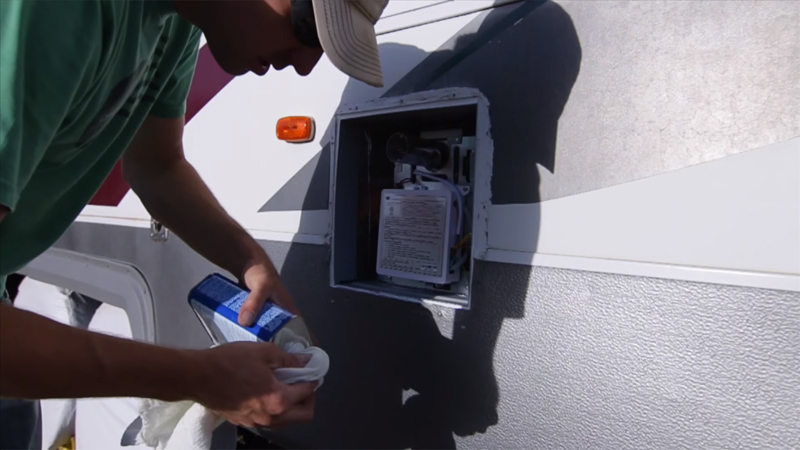
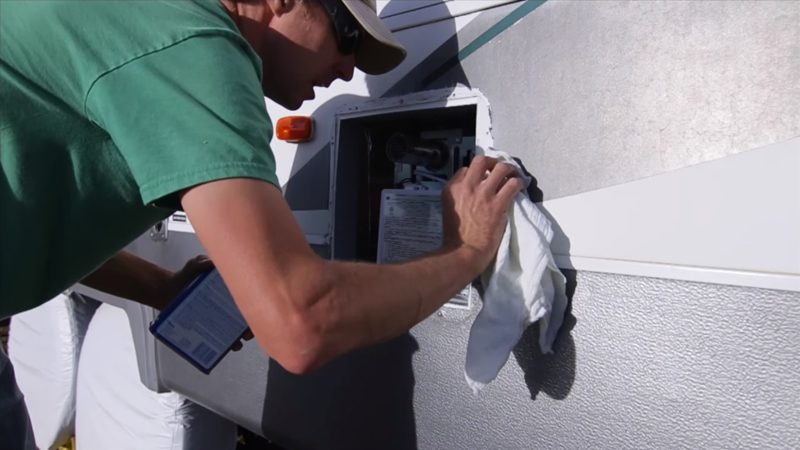
7. Clean any remaining residue to ensure that the area is free from any dirt before installing the new tankless water heater.
8. Make sure that the opening is of the correct size. [If doing a new installation, prepare the opening first. Use a measuring tape to get the measurements of the heater dimensions before making a hole on the outside of the RV.] But for a replacement, just buy a tankless heater with the same dimensions as the old heater.
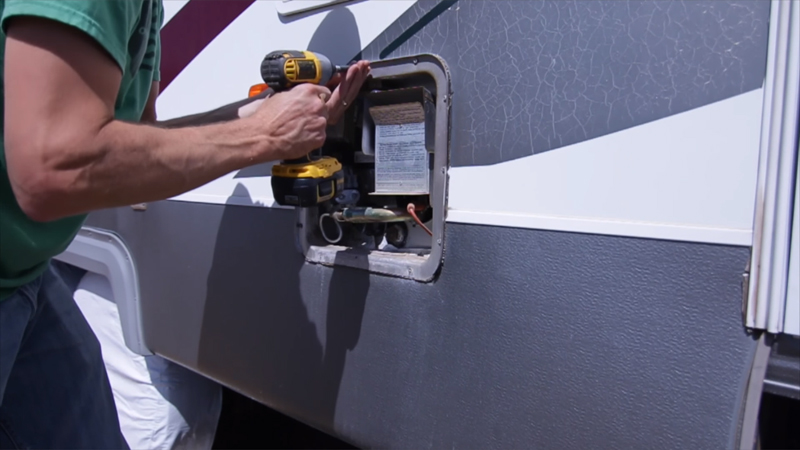
9. Slide in the RV tankless water heater into place.
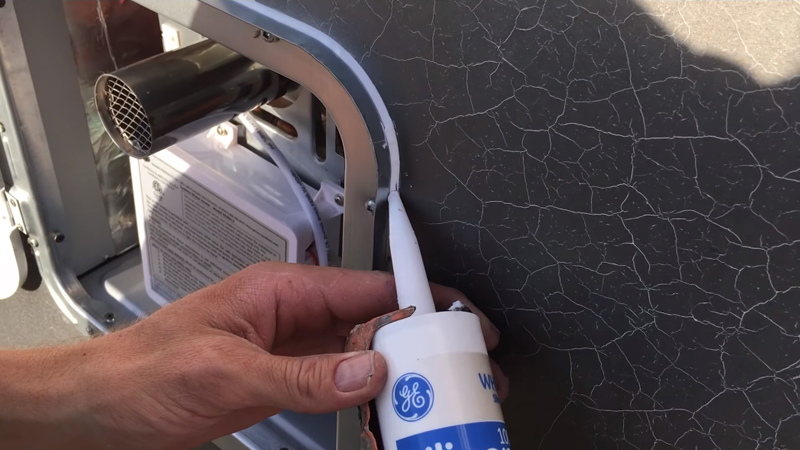
10. Before placing the door, you should caulk around the gap.
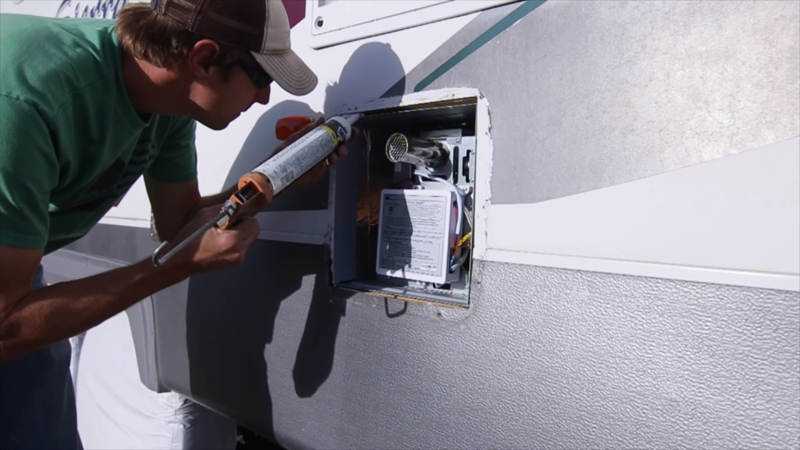
11. Position the door and line it up before screwing into place. Check for proper alignment.
12. Caulk around the gap for sealing. See to it that no gap is left uncaulked.
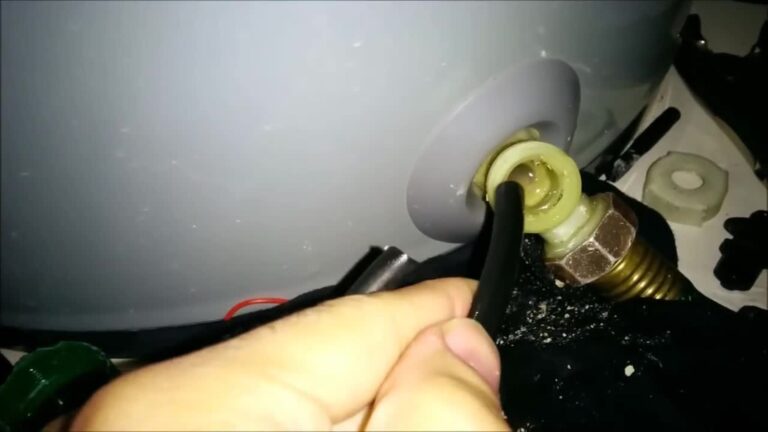
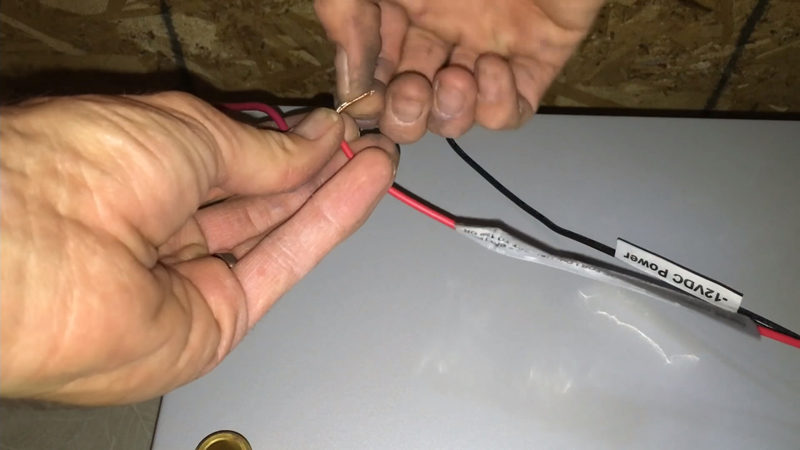
13. When done, connect the wiring – the black wire to the ground and the red to the park.
14. Connect the hot and cold-water connection.

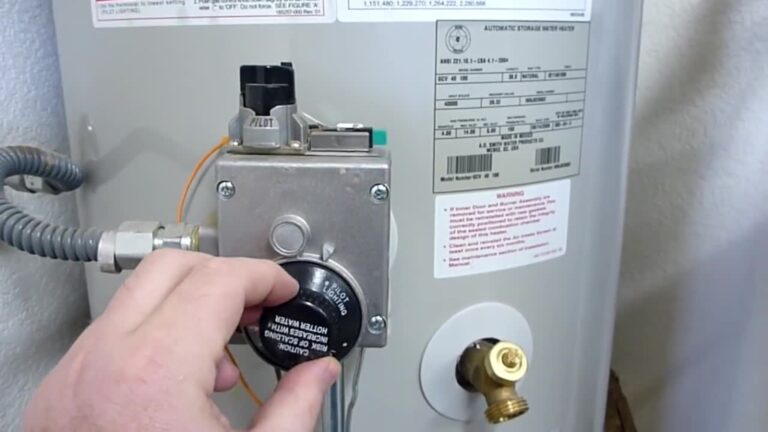
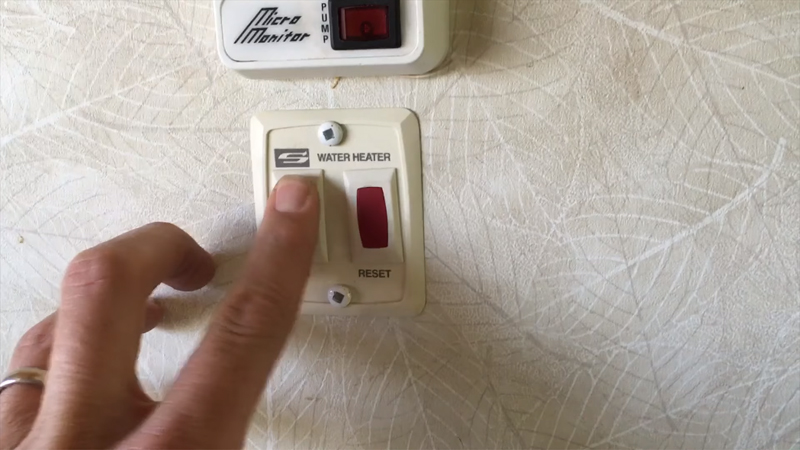
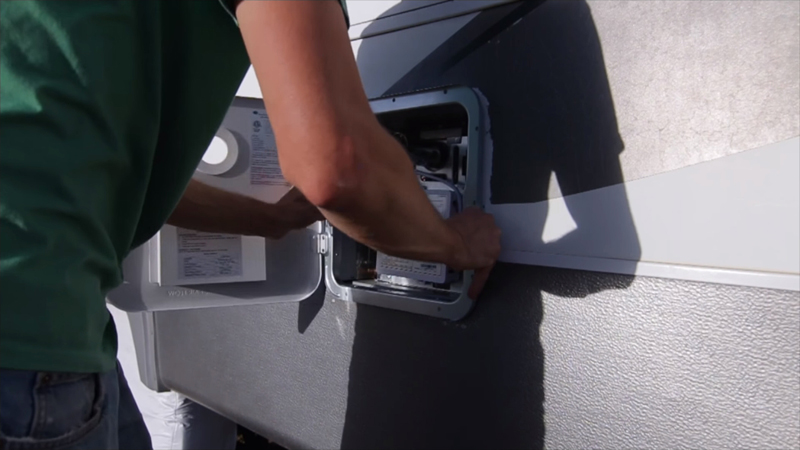
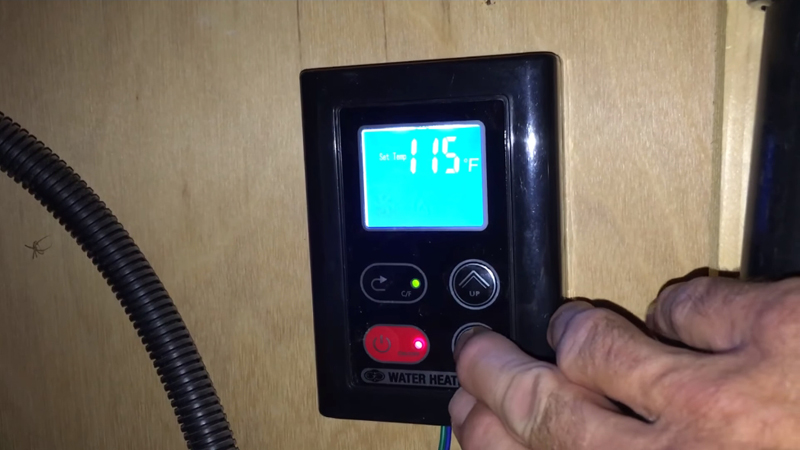
15. Install the control panel. Refer to the user manual on how to do it. Typically, it is the same as with an old tankless heater control panel, but nevertheless, refer to the manual for proper guidance.
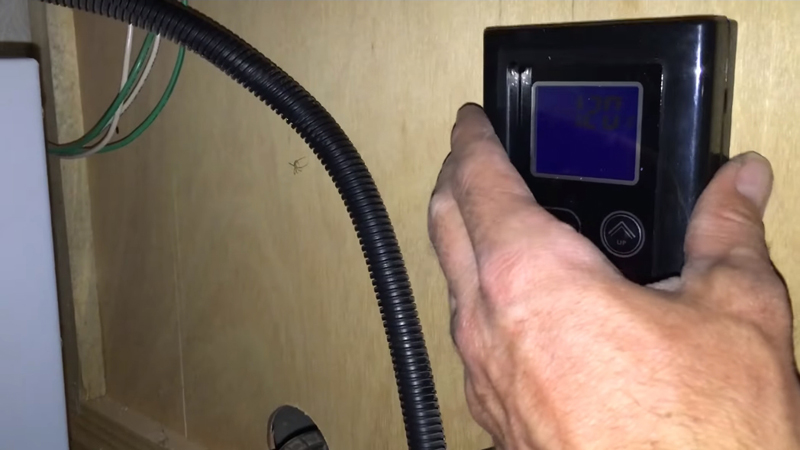
16. Test the control panel once installed to see if it is working properly.
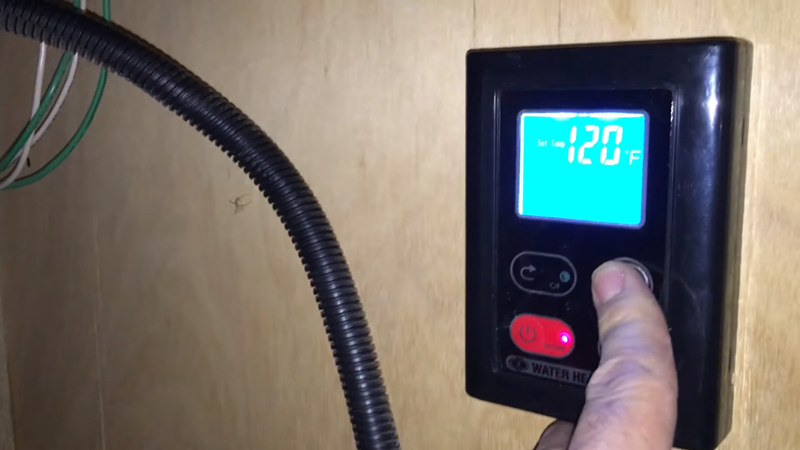
17. Once done, turn the hot water on to see if tankless heater is working.
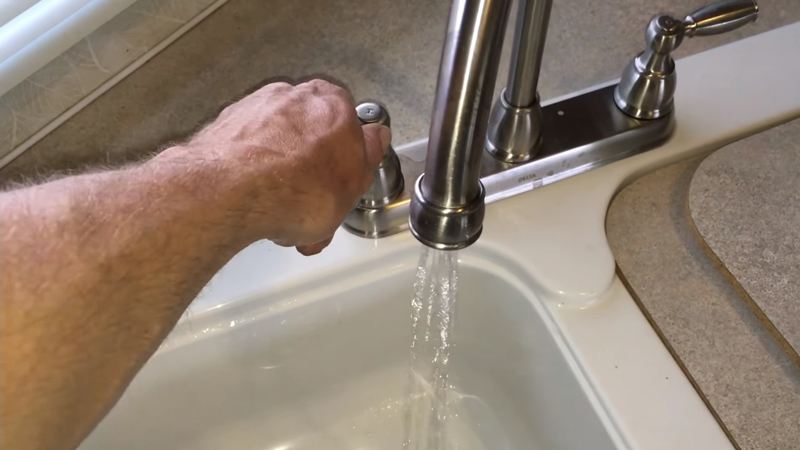
18. Check that you have set it to a lower temperature. In this case, you don’t need to add as much cold water to your system. Set the temperature closer to the temperature that you’re running instead of cranking it too high.
RV Tankless Water Heater Maintenance Tips
A tankless water heater can produce hot water on-demand and doesn’t have a high tendency for leakage. It is safe and has a longer lifespan than the typical water heater. However, you must learn how to take care of and maintain your tankless water heater. It is why you must know how to access it so that you can perform maintenance activities. Do not ever do tinkering with it without disconnecting the power sources off. Ensure that the heater is cooled off before maintenance as well.
Wrapping Up
Installing the RV tankless heater is simple. It will not take a long time, but it is important to turn them off to ensure that you won’t get into trouble when installing the new tankless heater. If you’re looking to install it on the outer panel of your recreational vehicle, you can cut out the old unit and then measure the hole to check that the new heater fits it.
- Put the unit into the hole, and ensure that you’re lining up the holes on your door with the water heater holes. Screw the unit into place to secure it into your trailer.
- Then, you can put a caulk or a silicone bead around to seal out any moisture or water coming from the outside.
- Connect the electrical connection, or combine the LP line with your tankless heater if you want to run it by propane or gas.
- Connect the cold and hot water connection to the tankless heater. You can now install the control panel to the base place. Make sure that it is easy to access and find so that you can turn it on or off or change the temperature setting on how you like it.
- Test the system, and you’re done!
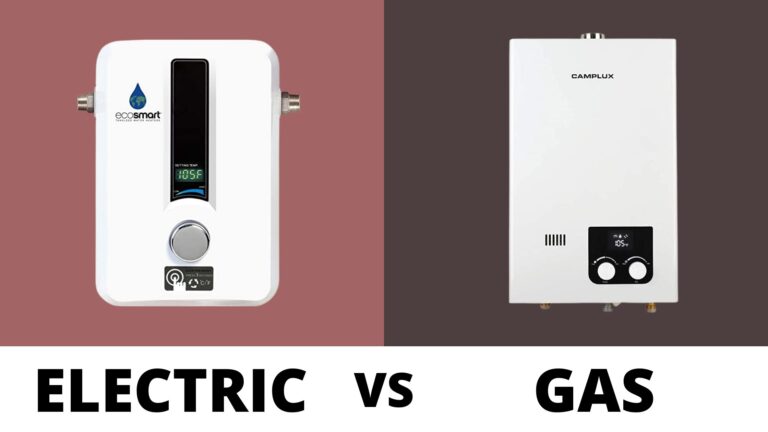
The tankless water heater works in the same manner as a residential water heater, which heats the water to reach a desired temperature using a heat exchanger when the water flows through it. Such device works in electric or gas. The choice is yours. But for many RV owners, they use a gas-operated heater, either propane or natural gas. Hoping you learned something from this guide on “How to Convert RV Water Heater to Tankless?” Follow this step-by-step guide and install the water heater into your recreational vehicle today!