How to Replace Water Heater Drain Valve? [2 Amazing Ways to Get It Done]
If you want to replace the water heater drain valve, it does not mean that you need to be a professional or even call one. Following a simple guide and taking care of the safety precautions could save you tons of money. Replacing the drain valve for the first time will require time and concentration, but it’s not so tough to accomplish either.
Leaks may happen at any time depending on the local water quality. So following the steps and doing everything by yourself could save you at least $100 every year. So let’s commence the DIY guide to know how to replace water heater drain valve.
There are two main procedures that you can follow for doing this. One is by draining the tank and the other is without draining it.
Procedure 1: How to Replace Water Heater Drain Valve By Draining the Tank?
The drain valve always stores some amount of water inside the tank. So if you remove the old valve, it will release the water inside and start to flow out. Thus, draining the tank is important if you are using any gas water heater or an electric water heater.

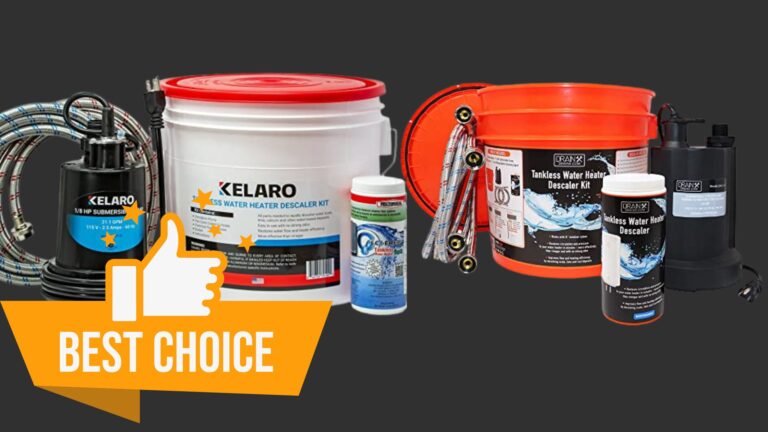
- TANKLESS WATER-HEATING CLEANING KIT: The My PlumbingStuff Tankless Water Heater Flushing Kit is perfect for maintaining any tankless-style water heater. It includes 5-foot SS hoses, a 32-ounce bottle of FLOW32 Descaler, a Zoeller 42-0007 Floor Sucker pump, and a 5-gallon bucket.
- HELPS MAINTAIN EFFICIENCY: This tankless water-heater flushing kit should be purchased with every new or existing tankless water-heater system. By flushing the water heater as recommended by the manufacturer, you’ll ensure optimal efficiency, reduce debris buildup, and improve the quality of water.
- J.C WHITLAM FLOW32 DESCALER: FLOW-AIDE is a nonhazardous, noncorrosive, nontoxic, and biodegradable descaler that is heavily fortified with wetting and penetrating agents that actually dissolve water scale, lime, mud, rust, and other water-formed deposits from portable water-heater and tankless systems.
- EVERYTHING YOU NEED: This tankless water-heater cleaning kit includes everything you need to fully maintain your water-heating system. It comes with step-by-step instructions that are easy to follow, and it connects easily to the tankless isolation valves using the supplied 5-foot SS hoses.
- OVER 100 YEARS OF QUALITY-DRIVEN PLUMBING SOLUTIONS: At My PlumbingStuff, we have real plumbing and heating experts working behind the scenes to bring you the most trusted products for your home’s DIY needs. We offer indoor and outdoor fixtures and have proudly been a 4th-generation family business within the plumbing industry for over 100 years.
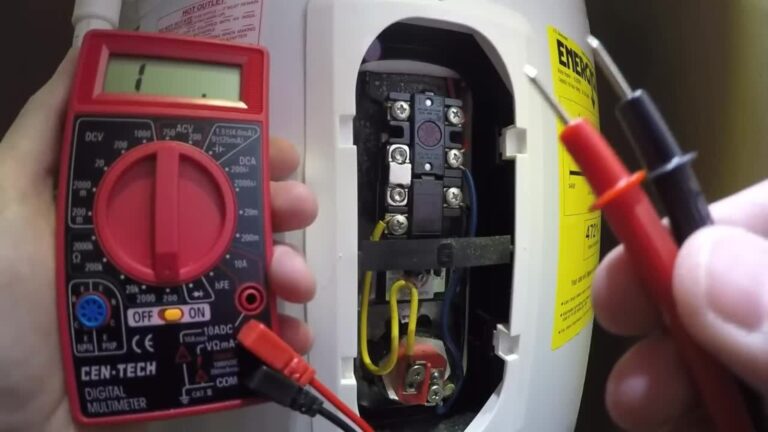
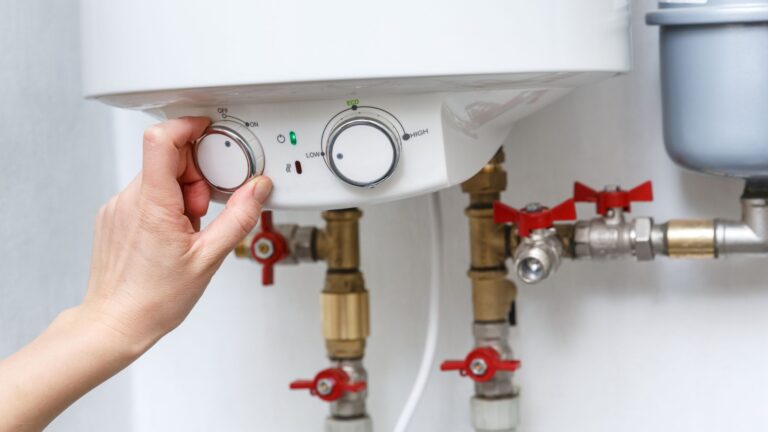
1. Turn off power
The first thing that you need to do is to turn off the power that is in use. If you have a gas ignition system, make sure that you have turned that off as well. Now you can switch off the connectivity from the electrical service panel as well. This step will stop the burners from working and then you can easily shut off the gas supply of the heater.
2. Close the water supply
The next thing that you need to do is to stop the water supply. Close the faucet that allows cold water to flow inside the heater. There should be a supply pipe fitted at the bottom or top of the heater. Make sure you close it to stop the flow.
3. Connect a hose
To allow the tank to drain out the water, you need to connect it with a hose. Draining with the hot water faucet will not be a good option. So, connect it with a garden hose and then put the other end of the hose to a nearby floor or a drain.
4. Draining the tank
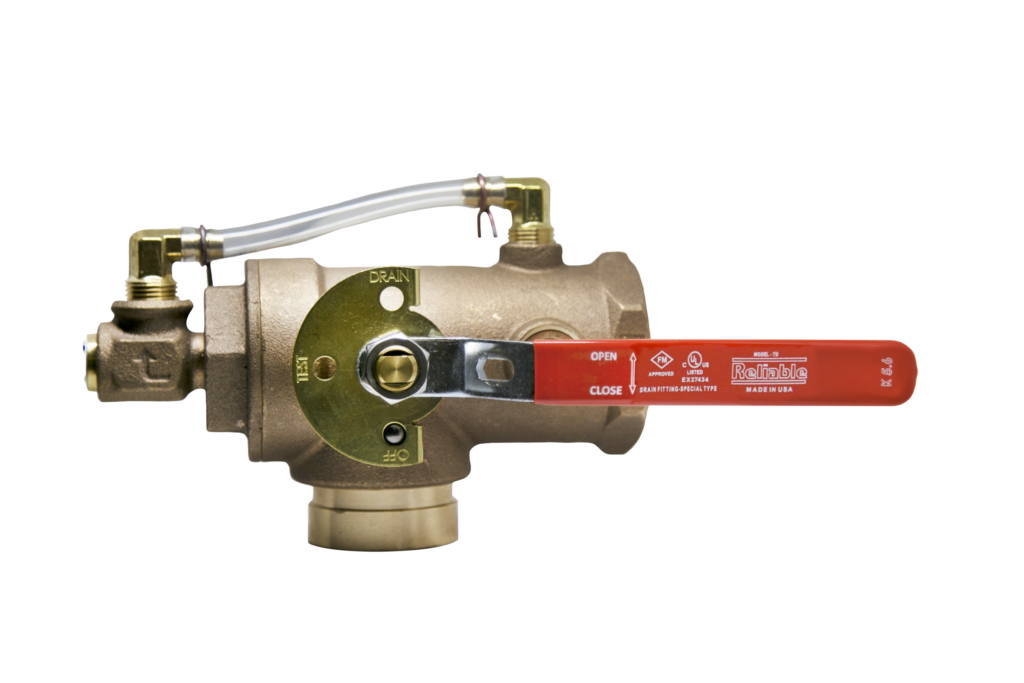
Once you are connected to the hose, you can start the procedure for draining the tank. To get this done, you need to open up the T&P valve present on the top of the tank. It will release the pressure inside and allow the water to flow out. Let the tank finish the draining and the heater should settle in for a while. If you have a big heater, it will take about 15 minutes.
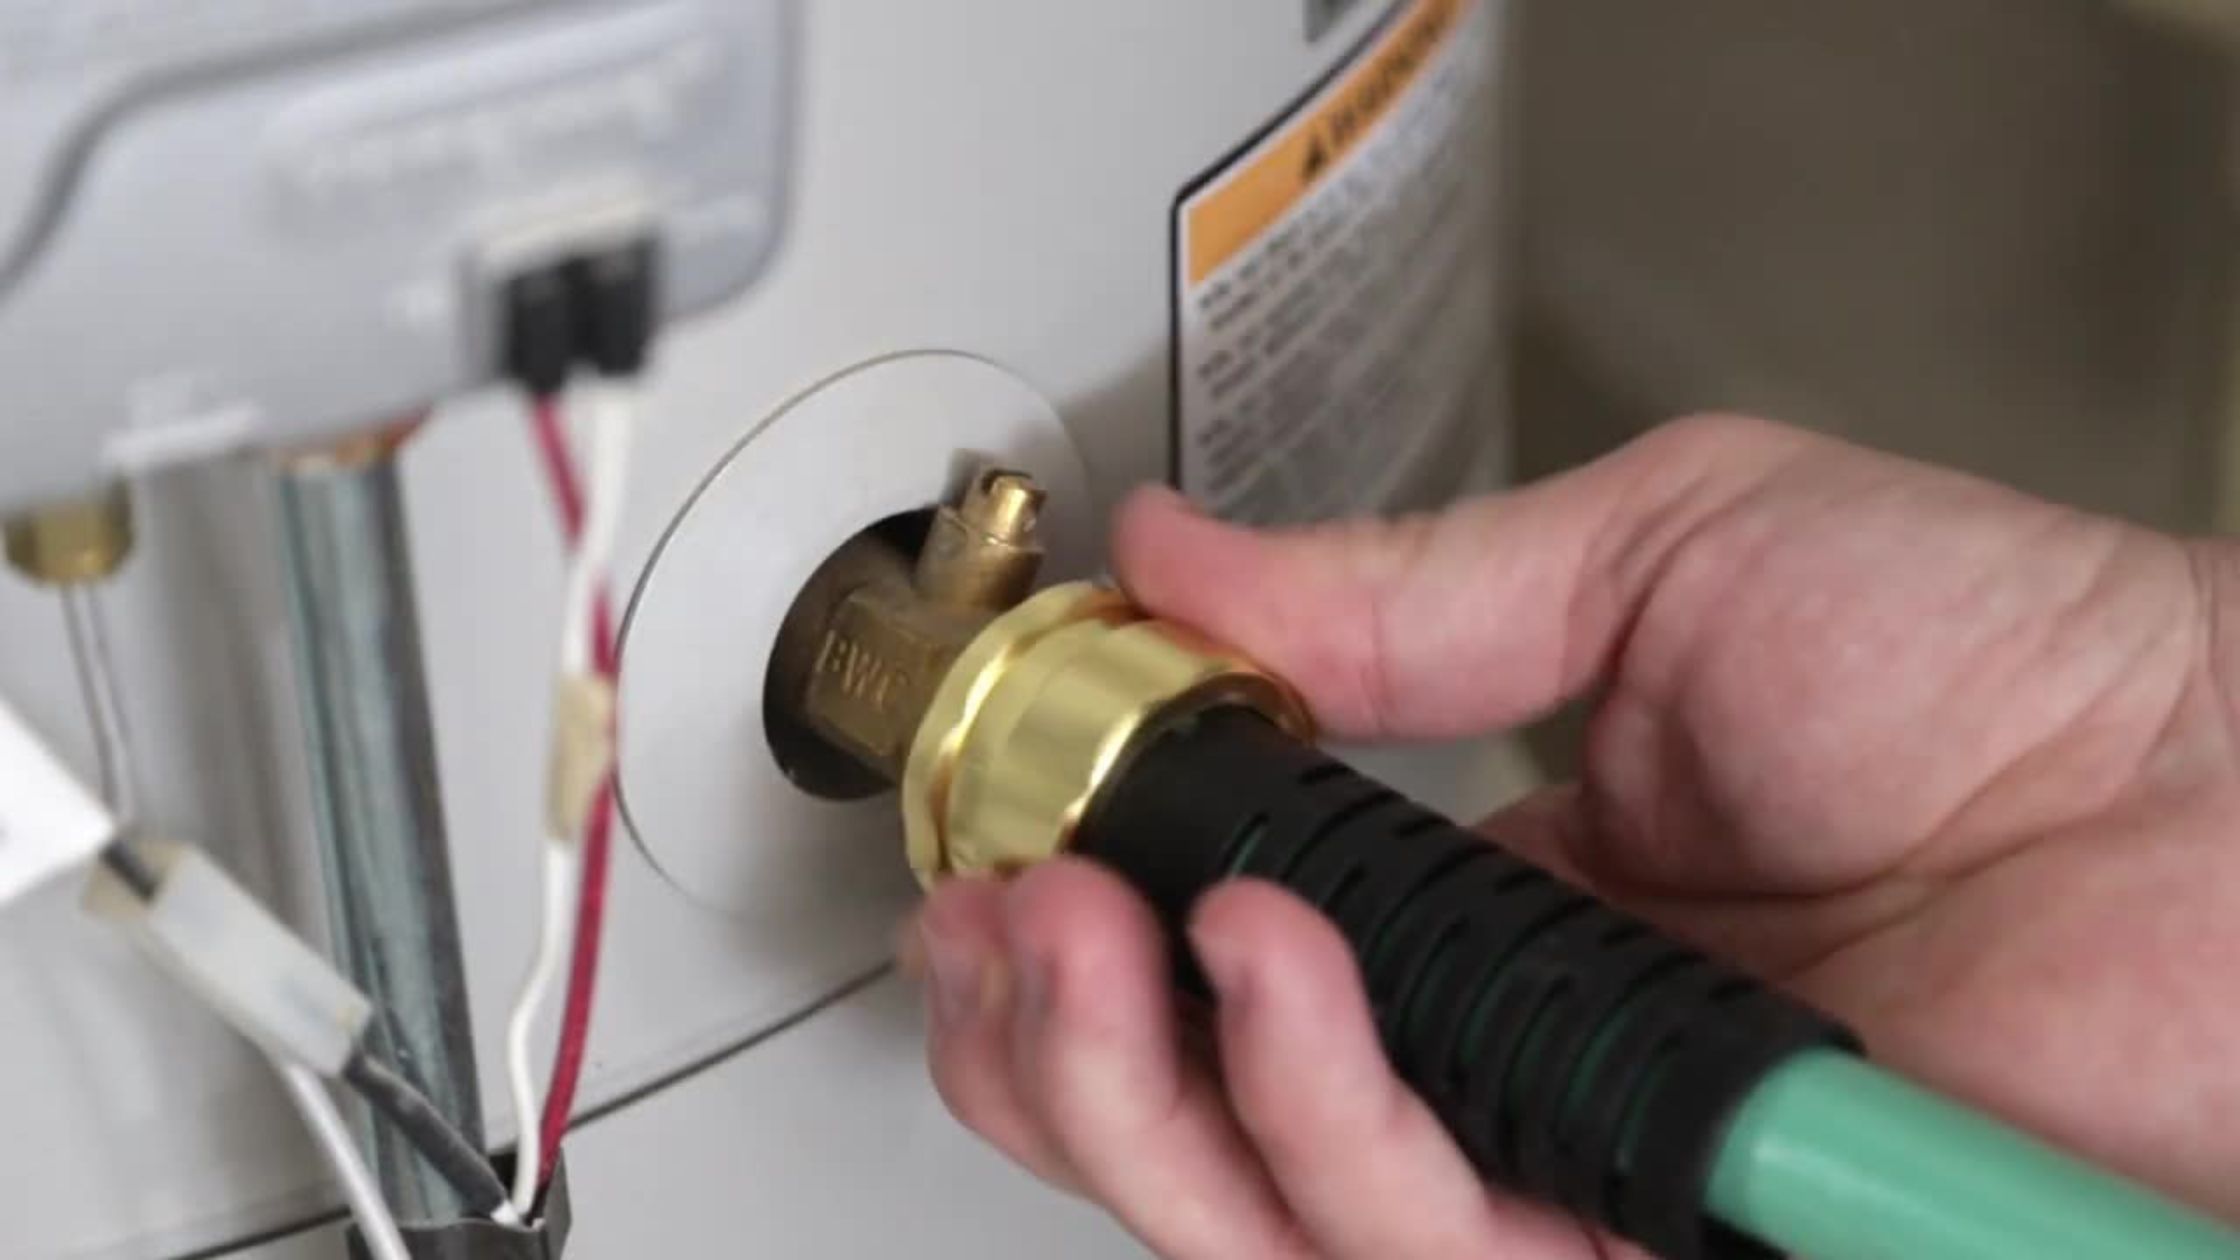
5. Remove the old valve
Now the heater will be completely cold and free from any hot water. This will be the best opportunity for you to remove the old valve. You can turn it in the counter clockwise direction and then pull it out with the help or a range.
6. Replace the drain valve with a new one
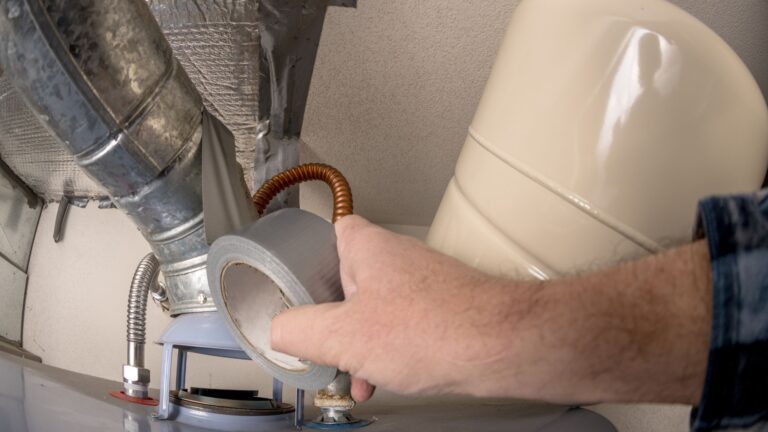
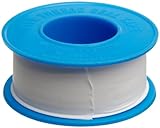
The next thing that you need to do is to get a new drain valve and then push it once into the slot. Keep turning it clockwise until the valve sits in the proper position. Once it does, you can wrap the threads with the help of a plumber’s tape so that there are no leaks in the future.
7. Turn on the water
Start with opening the cold water inlet tap present inside the house. This will allow the heater to start refilling the tank. Allow some water to flow inside it and then you can turn on the hot water faucet.
8. Turn on the Power
When the cold water settles inside the heater, you can now power it on and then allow it to ignite. This will start heating the water inside the tank and then your heater will be ready for uses.
9. Check the valves
Before you close the cover, look for the valves that can be spotted. If you hear any whistling noise, stop the heater and look for the leaks. The heater is otherwise good to go.
For the draining process you will need a Water Heater Flush Kit. We have a detailed review regarding that. Check it out to choose the best one for you.
- TANKLESS WATER-HEATING CLEANING KIT: The My PlumbingStuff Tankless Water Heater Flushing Kit is perfect for maintaining any tankless-style water heater. It includes 5-foot SS hoses, a 32-ounce bottle of FLOW32 Descaler, a Zoeller 42-0007 Floor Sucker pump, and a 5-gallon bucket.
- HELPS MAINTAIN EFFICIENCY: This tankless water-heater flushing kit should be purchased with every new or existing tankless water-heater system. By flushing the water heater as recommended by the manufacturer, you’ll ensure optimal efficiency, reduce debris buildup, and improve the quality of water.
- J.C WHITLAM FLOW32 DESCALER: FLOW-AIDE is a nonhazardous, noncorrosive, nontoxic, and biodegradable descaler that is heavily fortified with wetting and penetrating agents that actually dissolve water scale, lime, mud, rust, and other water-formed deposits from portable water-heater and tankless systems.
- EVERYTHING YOU NEED: This tankless water-heater cleaning kit includes everything you need to fully maintain your water-heating system. It comes with step-by-step instructions that are easy to follow, and it connects easily to the tankless isolation valves using the supplied 5-foot SS hoses.
- OVER 100 YEARS OF QUALITY-DRIVEN PLUMBING SOLUTIONS: At My PlumbingStuff, we have real plumbing and heating experts working behind the scenes to bring you the most trusted products for your home’s DIY needs. We offer indoor and outdoor fixtures and have proudly been a 4th-generation family business within the plumbing industry for over 100 years.
Procedure 2: Replace Water Heater Drain Valve Without Draining
It has to be a tankless water heater when you want to approach and change the drain valve. There is no water stored in the tank and the only water to come out will be from the flow pipe. So immediately replace with a new valve once you bring out the older one.
1. Turn off the power
You can start the procedure to turn off the power and the gas valves. This will allow the heater to stop functioning. Then you need to turn off the water supply on the heater. This will create a vacuum inside the heater.
2. Prepare the New valve
The next thing that you need to do is to use a Teflon tape and then wrap around the new replacement part or the drain valve. You can keep it ready so that there is not much water loss.
- For Use In Wrapping Pipe Threads To Create Air And Water Tight Connections
- 520" Long, 3/4" Wide, And 3.5 Mil Thick For Multiple Uses. Thickness: .09Mm
- Operating Temperature Range Of -212 To +500 Degrees F
- Color Ptfe Tape
3. Place a bucket
Place a small bucket so that the hot water inside the tank falls directly within the bucket and not on the floor or your feet.
4. Bring out the old valve
Twist and turn the valve to open it and allow the water inside the heater to flow out for a few seconds. This will release the pressure inside the heater. If the pipe is made up of PVC, it will quickly spray the pressure.
5. Replacing the valve
Once some water is out, quickly replace it with the new valve. Apply some pressure from outside so that it sits correctly in the proper position. This will not allow you to lose much water and the heater is ready for use.
- TANKLESS WATER-HEATING CLEANING KIT: The My PlumbingStuff Tankless Water Heater Flushing Kit is perfect for maintaining any tankless-style water heater. It includes 5-foot SS hoses, a 32-ounce bottle of FLOW32 Descaler, a Zoeller 42-0007 Floor Sucker pump, and a 5-gallon bucket.
- HELPS MAINTAIN EFFICIENCY: This tankless water-heater flushing kit should be purchased with every new or existing tankless water-heater system. By flushing the water heater as recommended by the manufacturer, you’ll ensure optimal efficiency, reduce debris buildup, and improve the quality of water.
- J.C WHITLAM FLOW32 DESCALER: FLOW-AIDE is a nonhazardous, noncorrosive, nontoxic, and biodegradable descaler that is heavily fortified with wetting and penetrating agents that actually dissolve water scale, lime, mud, rust, and other water-formed deposits from portable water-heater and tankless systems.
- EVERYTHING YOU NEED: This tankless water-heater cleaning kit includes everything you need to fully maintain your water-heating system. It comes with step-by-step instructions that are easy to follow, and it connects easily to the tankless isolation valves using the supplied 5-foot SS hoses.
- OVER 100 YEARS OF QUALITY-DRIVEN PLUMBING SOLUTIONS: At My PlumbingStuff, we have real plumbing and heating experts working behind the scenes to bring you the most trusted products for your home’s DIY needs. We offer indoor and outdoor fixtures and have proudly been a 4th-generation family business within the plumbing industry for over 100 years.
Conclusion
Replacing the drain valve is not as difficult as it looks. But be very sure to wear the protective gear and always place a tub underneath the heater. If by any chance the water inside the tank starts to leak, it should not touch your feet.
If you are unable to do it even after this guide, try to contact a professional and leave the heater as it is. Handle the heater carefully and try not to break any other part while using the wrench.
Do let us know which procedure you liked the most. Also, put down your other queries regarding the hot water heater drain valve replacement below in the comments section.