How to Test Water Heater Thermostat? [Comprehensive Guide in 2024 – Test, Troubleshoot, Replace]
A defile water heater can cost you a fortune. Repeatedly asking for a professional to patch up the heater back to work is not a matter of a few bucks, but replacing the entire heater can cost you a lot. But if you diagnose it properly, you may end up saving a lot.
But what’s the most important part of any electric water heater? Yes, you guessed it right- it’s the thermostat. To be fair, each of the electric water heaters does come with two thermostats present.
One of them is found at the top while the other is at the bottom of the tank. This is why each of them controls different heating elements in a heater.
If you turn on the hot water faucet, the cold water freezes out and if you feel that the hot water is not pouring at all, it’s because there are multiple issues with the thermostat. When the first thermostat is partially damaged, you’ll find that the cold water is not coming out of the heater.
If the water becomes cold, it means that the lower thermostat is also damaged. But how will you know which part is damaged without even testing it?
This is where thermostat reading is effective. With the help of a relevant test, you’ll be able to find out which of the thermostats have a faulty mechanism. So, let’s start this guide on how to test water heater thermostat.
How Does A Water Heater Thermostat Work? [Electric Water Heater]
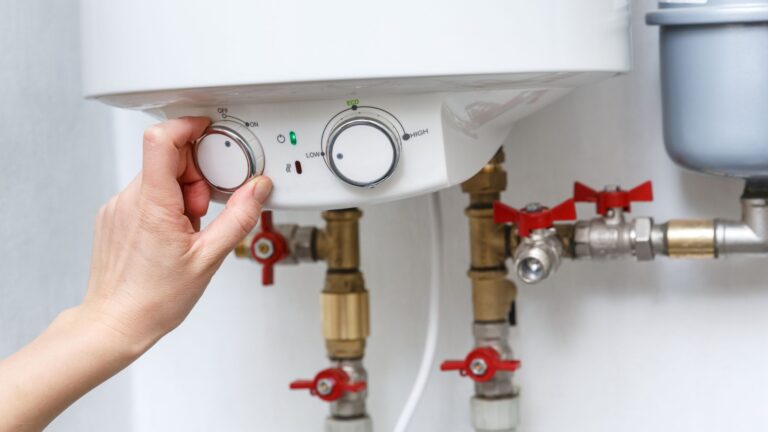
When it comes to the mechanism, the thermostat is the most important component of the heater. Technically, it is much more important than the heating element and the switch. The primary role of the thermostat is to regulate the temperature and the heater safe from any type of excess threat.
So this device is used to produce high temperature water for multiple purposes in case of both tanks based and tankless water heaters. This is mainly because the levels of heat needed for a shower is completely different from the level of heat needed for washing. Apart from this, the simple controlling gadget also can control the current from the thermostat to the heating element.
Any heater that comes with both electric and gasoline ignition with 25 gallons of storage space must have two different heating elements. For each of these heating elements, you will be able to find a thermostat for each.
But when it comes to the working mechanism, the thermostat present on the top may act as the primary regulator. This is mainly because it will have a high limit switch. The main function of the lower thermostat is to detect any rise or fall in the temperature.
As a result of this, both these devices have different properties for working. Infact, they may not even work together. For safety reasons, this high limit thermostat comes with a switch that can always stop the thermostat from working.
To keep the water temperature safe for use, the manufacturers set a higher limit to 170-degrees Fahrenheit. If the water temperature is higher than this, it stops working.
If you want to fix the thermostat with a specific range of temperatures, you need to make sure that they are on the same temperatures. To get this done, you can pick out the readings for one of the thermostats (the lower one will be the better option) and match it with the other thermostat. Once they are set, activate one of them.
However, if there is only one thermostat present with the heater, it means that you don’t have something to match with. Pick out a decent water temperature and you can adjust the dial of the thermostat to fix it at a specific temperature.
How To Test Water Heater Thermostat?
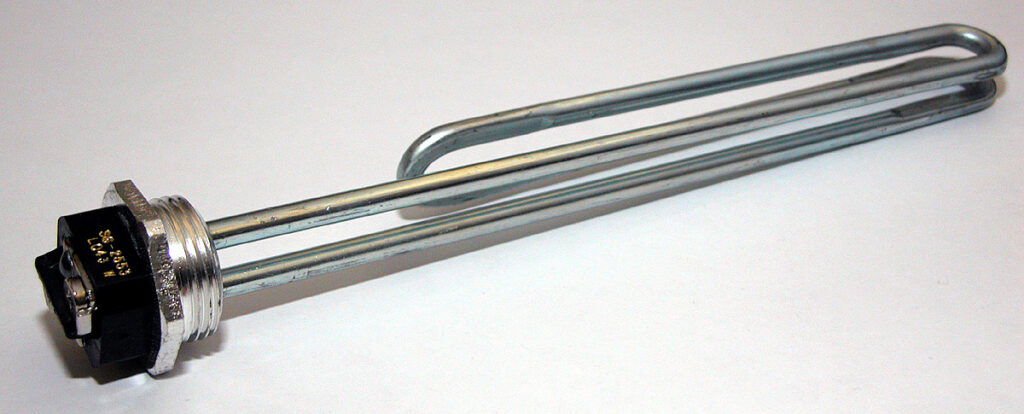
Before you plunge in to check the thermostat, you need to keep in mind about checking the heating element as well. You will have to check all the details including the temperature, the response of the electrical circuit to the thermostat, and much more with the help of digital tools. The open as well as grounded heating elements can bring out different tests.
Thus, being sure about the measurements is a must. Thus, having a digital multimeter may come to be very handy for you. You need to be well prepared with the right set of a tool other than just the testing equipment. This is because the process of testing will involve a complete assembling of the heater.
So having a screwdriver and a few faucets is a must. You can just follow the steps mentioned below to get a quick test done to the thermostat.
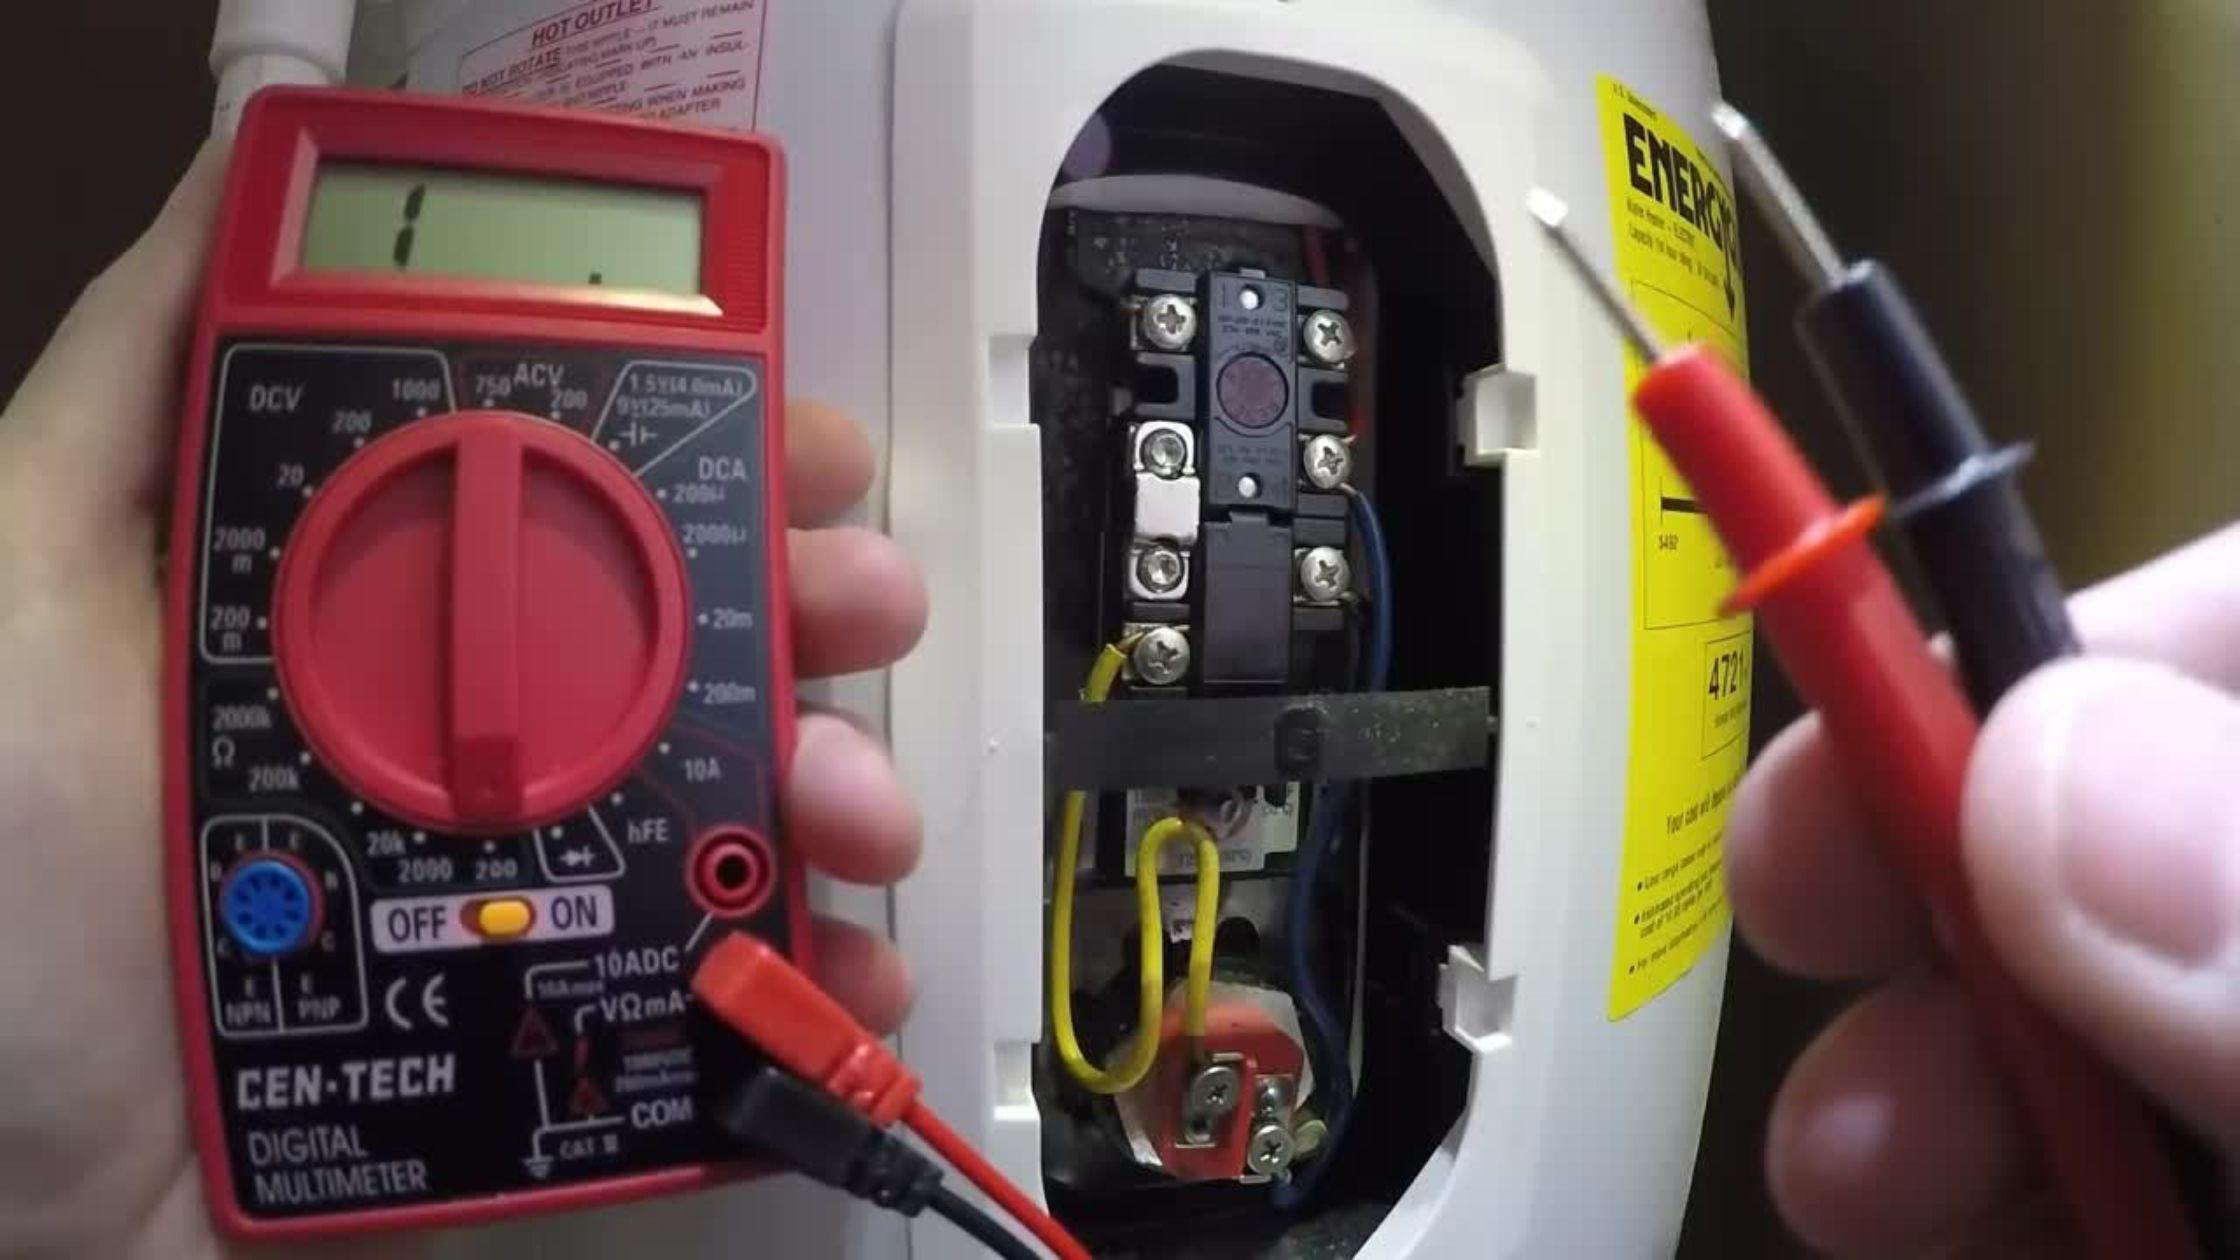
- You need to start by checking the terminals and then look for any type of power supply. For the measurements, the most important thing is the keep your power turned on until it ends. If it is working correctly, it should be giving you a reading of 240 Volts on all the terminals. If you do not find any reading or a lower reading, you need to check the power source and the high limit for your current.
- The next step is to stop the lower thermostat. This will mean that you need to rotate the dial to the lowest limit possible. Once this is done, you need to higher up the thermostat in terms of temperature. This will give you a clear idea of where the problem lies.
- To get the readings you need to set the prongs to the terminal 1 of the thermostat. Make sure that the multimeter is properly connected with the heating element with the other prong. When the power supply is on, you will immediately start getting the readings, and without any delay.
- If you find the readings to be around 240 Volts, the thermostat is getting adequate power supply. Change the locations of the prongs to the terminal 2 and then check the readings again. The readings should match on both the terminals. If not, consider it as faulty part.
- Now it’s time to check the lower thermostat. You can start by adjusting the dial from the primary thermostat to the lowest possible temperature settings. Set the dial of the lower thermostat as per the maximum limit possible.
- Once you are done, set the prongs on the terminal one and other to the red wire present on the lower heating element. If the power is turned on, you will also get an immediate reading. It should be around 240 Volts to declare that the thermostat is working fine.
- Change the location and then set to the terminal 2 of the thermostat. If you find any similar readings, the device should be working fine. If you are unable to find any deflection, you need to end up replacing both the thermostats together.
Water Heater Thermostat Replacement
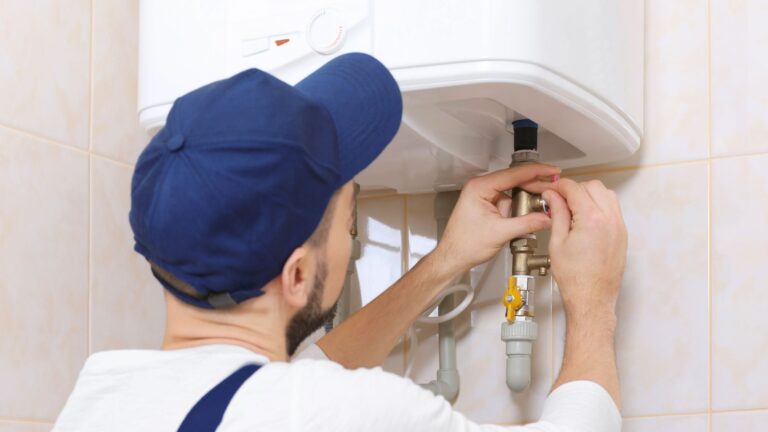
Changing the thermostat is never as difficult as it may seem to be. If you have done the entire process of testing the thermostat, replacing it is just the next step. Before you start with anything, you must know which thermostat you have to change and the health of the other one.
But if you are willing to take the help of a guide to save yourself from spending lots, you can just follow down below. If you are unsure about the entire process of bringing out the thermostat and then replacing it with a new one, leave it for a professional to do.
1. Turn off the power supply
If you are putting your bare hands deep into the heater, you must be sure of no power supply. Make sure that you disconnect the power input supply and then take the help of a screwdriver. You need to chop off the power supply from the circuit breaker as well. Taking out the panel is a must before you dig into the heater.
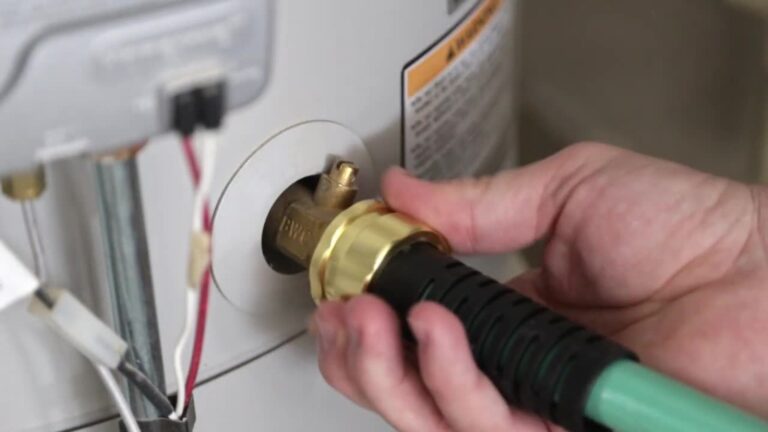
2. Pull it out
The next thing would be to bring out the thermostat. But before you do this, take a picture of the wirings and the configuration as this will help you to re-install the new thermostat. Unscrew all the tightening and then you will be able to bring out the thermostat with a minimum pull-over force applied.
3. Replace the thermostat
I’ll assume that you already have the new thermostats and now you need to push it back in. Follow the same procedure to install the new thermostat to the original place. If you get confused about the wirings, just have a look at the picture that you have taken earlier.
4. Reconnecting the circuit
Now that you have installed the thermostat, it’s time to check back the status. Join it up with a new circuit and you will be able to know the status. Switch on the heater for at least two hours and change the dial settings to a decent temperature. Open the high temperature faucet to check if it is working properly or not.
Electric Water Heater Thermostat Troubleshooting
To be fair, troubleshooting may seem to be a bit out of reach for any person who does not know how to fix things up. But from a professional’s point of view, it’s just a 10-minute game. If you follow these instructions, you’ll be able to do it accurately and without much external help.
- The first thing that you need to do is to head up to the circuit and then simply turn off the power supply line. When you touch the thermostat, make sure that your hands are dry to avoid any type of electrical shocks. Try to stay away from any pole breakers as it may not be a great idea to use them.
- The next thing that you need to do is to pull out both the panels and then uncover the thermostat. Behind these panels, you will find out the insulation of the thermostat. Bring it out as well to avoid any damages while working.
- Once you are done with this, you need to find out the plastic panel present on the thermostat and also the heating element. Here, you will find a button present. Simply press it to ensure that the button is working fine and is receiving connections.
- After this, you need to hear a snapping sound as you push the button. If it is working fine, there should be the sound of the switch turning on. If you wish, you can turn on the power for a few minutes to check if the switch is working fine or not.
- Even if you switch off the power, you need to make sure that there is no external supply present. To check this, you can take the help of a voltage tester and then place the probes on the wires at the top. If there is no deflection, it means that you are good to go.
- Take the help of proper rubber gloves that will ensure no trespassing of electricity. Now you can slowly take out the plastic cover. You can easily take the help of a small clipper to bring out the cover.
- Once you have taken out the cover, you need to turn on the power again. Now bring in a voltammeter that will give you proper readings. Try to take a test lead on all screws. You should find the same power readings on all of them. Repeat this process by turning off the heater.

Wrap Up
Any electric water heater will have components that can match exactly like a relative tankless based heater. Defects may happen at any time, but luckily, if you have the right set of tools and testing kits, it will just take a few steps to identify the problem and then troubleshoot it.
The best part is that you won’t even need any specialized skills to chop off the work. Just with the help of a few tools like a multimeter and pair of screwdrivers, you’ll be able to detect the problem. But you need to be very careful before you try to operate with the heater.
Make sure that you have taken care of all the basic needs and then opted for the diagnosis. If not, these few things like turning off the power, testing the unit, and even replacing the thermostat with dry hands are a few things to keep in mind. If you are still unable to find out the problem of how to test water heater thermostat, do let us know in the comments below.