How to Clean Thermocouple on Water Heater?
A thermocouple is a safety device that is attached to the gas furnace. It is used to detect whether the pilot light of the furnace is lit or not. It is directly connected to the furnace’s gas valve. When the pilot lit goes off due to the loss of heat, this device detects it and it cuts off the fuel supply.
On the other hand, when thermocouple detects the heat it keeps the gas line open. That’s why it is important that the thermocouple should be kept working. The cleaning of thermocouple should be done on a regular basis.
Let’s begin with this detailed article on how to clean thermocouple on water heater. This task is not that difficult so the homeowners can do this themselves.
A dirty thermocouple will not be able to detect the heat build-up or its loss. It may also happen that the thermocouple is not able to give correct readings. It will also shut the gas supply to the furnace even if the pilot light is working. Or it may also happen that the pilot light is not working properly. In this case, the soot has built upon the thermocouple.
How to Clean Thermocouple on Water Heater?
Before cleaning the thermocouple make sure that you shut off the power supply so that you do not get hurt while cleaning the thermocouple. Now the ends of thermocouple may be corroded. This may prevent power from reaching the pilot lights. Rub the ends of this piece with an emery cloth sandpaper.
The sandpaper will be attached to a piece of fabric which makes it easier and flexible to rub on small areas. Continue doing this till the end of the piece is neatly cleaned.
Now wipe the piece with a soft cloth. This will remove some particles that were left by the sandpaper. After doing this turn on the water heater and relight the pilot light. Use a flashlight while doing this step. If the water starts heating up, then the cleaning process worked. If not, then the replacement of thermocouple is necessary.
How to Replace the Thermocouple?

The thermocouple usually lasts for several years but they do not last longer than the furnace itself. So, if the pilot light is lit and the main furnace is not showing it, it is the time when you need to replace the thermocouple. You can take your non-working thermocouple to the hardware stores.
It is available in different sizes, so you need to match the size of the new and previous thermocouple. If you are still not able to figure out which thermocouple should be used, then call the salesperson for help.
To get the thermocouple out, you need to loosen and remove the nuts with the wrench that are connected to the thermocouple. Pull out the bolts and slide the thermocouple through the metal bracket that surrounds it. It is that simple!

- Resideo 36" Thermocouple for Gas Furnaces, Boilers, and Water Heaters
- For 30 millivolt systems
- Includes adapter fittings
- Heavy, long-lasting element
- Universal adapter fits screw-in, clamp-in and push-in type pilot burners
What is the Cost of the Replacement of Thermocouple?
The cost of replacement of thermocouple varies. If you call a professional plumber, then it will take around $150. If you do it on your own, then it will cost you around $20 which is the price of the thermocouple.
Why Won’t my Pilot Light stay Lit on my Fireplace?
If your pilot light gets lit but it won’t stay for long, then there is a problem in the thermocouple. In this case, the thermocouple needs to be replaced. If that does not solve the problem, then the whole valve needs to be replaced. There is one thing that you can do yourself.
You may find a small screw on the valve that regulates the size of the pilot flame. This should be done when the pilot flame is too low. Try this carefully as there is a small spring behind the screw that may pop out and you will have a hard time finding it.
Are all Thermocouples the Same?

No. Thermocouples differ from each other. They have unique characteristics in terms of durability, temperature range, resistance, vibration, and application compatibility. Type J, K, T, and E are the ‘Base Metal’ thermocouples.
These are the most common ones. Type R, S, and B are the ‘Nobel Metal’ thermocouples. These are used in high-temperature applications. Thermocouples are selected on the basis of their cost, high-temperature limits, wide temperature range and durable nature.

- LP Propane GAS WATER HEATER PILOT ASSEMBLY AND THERMOCOUPLE
- STANDARD 24" LENGTH total. Tubing and thermocouple length 22 inches
- FITS MANY WATER HEATERS ON THE MARKET BUT NOT ALL
- WARNING !!! ONLY QUALIFIED SERVICE PERSONEL SHOULD ATTEMPT TO REPAIR GAS EQUIPMENT
- Search for our 36" pilot if you need a longer one.
What is the Difference Between Thermocouple and Thermopile?
A thermocouple is a device for measuring temperature to the device to which they are joined. The potential difference is calculated by the wires which touch the device in which the thermocouple is connected.
Thermopiles are a series of thermocouples and are used typically when the difference in heat is hard to measure. It is typically more sensitive than a single thermocouple. A thermopile will give you more voltage (~600mV) out of it than a single thermocouple will provide (~30mV). For more detailed difference you can also check this.
So, this was it on how to clean thermocouple on water heater. We hope that all your questions have been answered. Still, if there are any left then you can ask them in the comments below.

- This Product Adds A Great Value
- Product Is Highly Durable And Very Easy To Use
- This Product Is Manufactured In China
- Brand Name: Reliance Water Heater
Why Water Heater Pilot Light Won’t Stay Lit After Replacing Thermocouple?
This is not a rare issue that most of the people can never understand. Since the thermocouple directly allows the pilot light to get turned on it is most likely to remain on for a while. However, if you are facing such issues, there may be mainly two reasons for such.
The first one is although low electricity generation. Even if you have installed a new thermocouple, it may generate a weak flame and this is the reason why the pilot light is not blowing. Check for the electricity generation as it could be in some milli-volts.
The other reason is the vent pipe. Under severe weather conditions like rainfall or snow, the vent should be protected. If there is no weather cap present, the wind can easily pass through the vent and blow it out completely.
In such a case, the burner may work fine as it is, but the pilot light may not light up. So, you need to be specific about the weather and then the burner holes. If there are bigger holes, the passing of winds can be a really common issue for all.
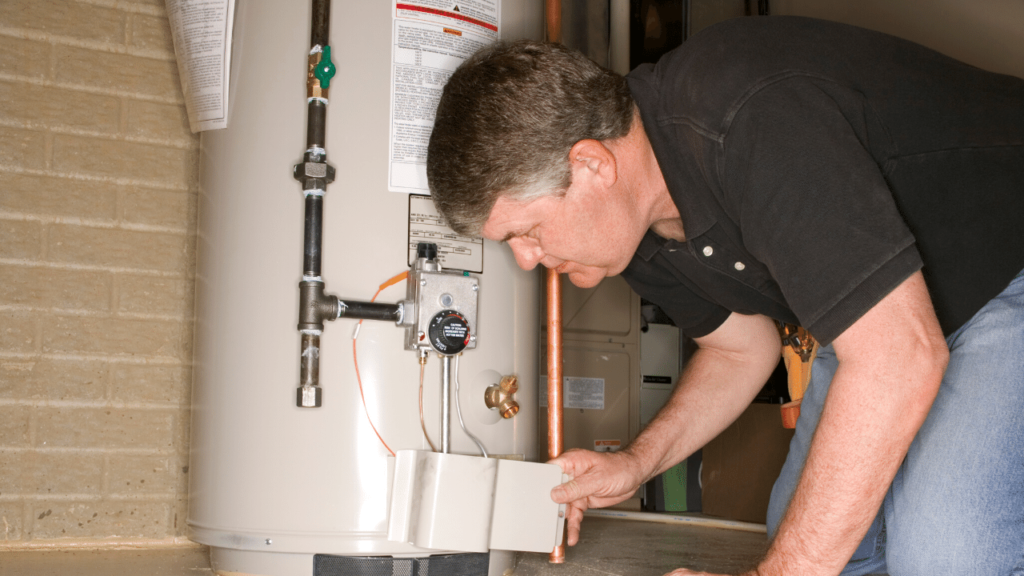
How To Replace Thermocouple?
The process for replacing a thermocouple in the case of both electric ignition and gas-based ignition is different. You can follow up on any procedure that matches your preference for ignition.
For Electric Ignition
- The first step is to turn off the gas control hub. There is a small valve present which is responsible for the gas supply. Make sure that you turn it off before using it.
- Once you are done, you will now have to remove the assembly cover. This is present just outside of the combustion chamber to keep it safe. You need to slowly remove the cover plate.
- Now you can get to the combustion chamber and you need to remove the burner tube. To do this, you can take the help of a range and some screwdrivers.
- The next step is to remove the cover plate. There is an old gasket that acts as a level of security for the thermocouple. Remover this gasket and then you need to clean the surface.
- Once it is completely clear for your use, you can easily bring out the thermocouple and then replace it with a new one. Click a picture before this to remember the setup.
- If you are done with replacing the thermocouple, follow the reverse procedure to complete the installation. Remember to tighten every screw you come through.
For Standing-Pilot Water Heater
- Follow the entire procedure till you reach to the burner assembly. Once you reach there, you need to slowly take out the assembly from the lower part of the heater.
- Now you can see the thermocouple. Here, you need to twist and pull this device to bring it out. You can now replace it with a new thermocouple to fit it in.
- If you are done with re-installing the unit, you can now place the burner unit back to the original position. Make sure that you reconnect all the gas valves to let it ignite properly.
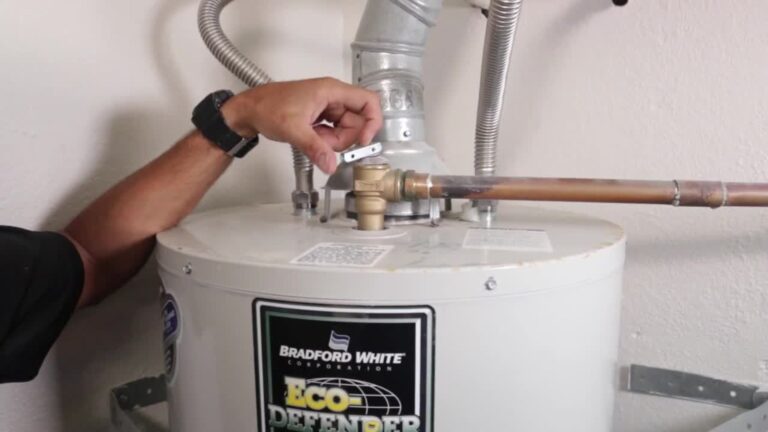
How to Replace Thermocouple On A Gas Water Heater?
Even though this procedure is very simple, it is still difficult to do without any precautionary measures. Gas-based heaters can be dangerous because it can heat up faster and also there may be gas valve leaks. So you need to be sure before you start the replacement procedure. You can follow the steps mentioned below to know more.
- Find the thermocouple present on the backside of the heater. You won’t have to open up the tank to find it as the thermocouple is present on the exterior.
- Once you have spotted the joints, you need to disconnect it. Take the help of a sharp cutter to chop off the thermocouple connectivity present.
- The next thing that you need to do is to replace it with a new thermocouple. Make sure that you connect it properly with the valve. If possible, seal it from both ends to avoid leaks.
- The last thing that you need to do is to re-install the burner. You need to tighten the nuts properly. Now you can turn on the burner to check the working condition of the heater.